This section contains information about the features of the BILLmanager 6 personal cabinet. Some features depend on the settings set by your service provider.
For support, contact your service provider via a request in your personal cabinet.
The article describes the personal account settings available to the client.
User settings
When you register an account, BILLmanager creates a default user. If necessary, you can change the user settings under which you log in to your client area.
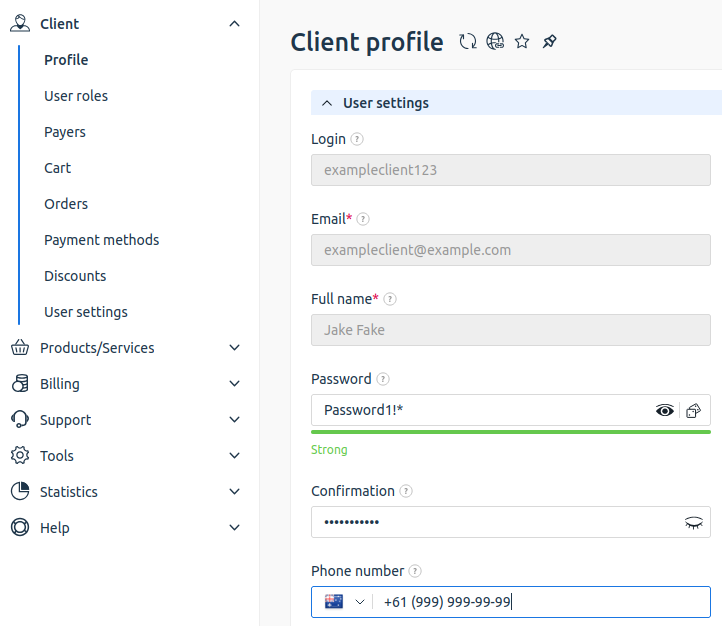
All information about the client is available in the Profile and User settings in the Client section.
You can view and edit the data:
- under Client → Profile:
- Email — the user's email address, which is used as the username;
-
Full name:
You will not be able to change the email and name for the first user yourself. To change this data, contact your provider's support. - Password;
-
Phone number — the user's phone number for receiving SMS notifications.
To remove a verified phone number from your user profile that you cannot access, contact your provider's support.
Phone number statuses:- Verified successfully
To change the verified phone number, click Edit → enter the verification code from the SMS message for the old number → the Phone number field will be leared. - Not verified
To verify the phone number, click Verify → enter the verification code from the SMS message.
- Verified successfully
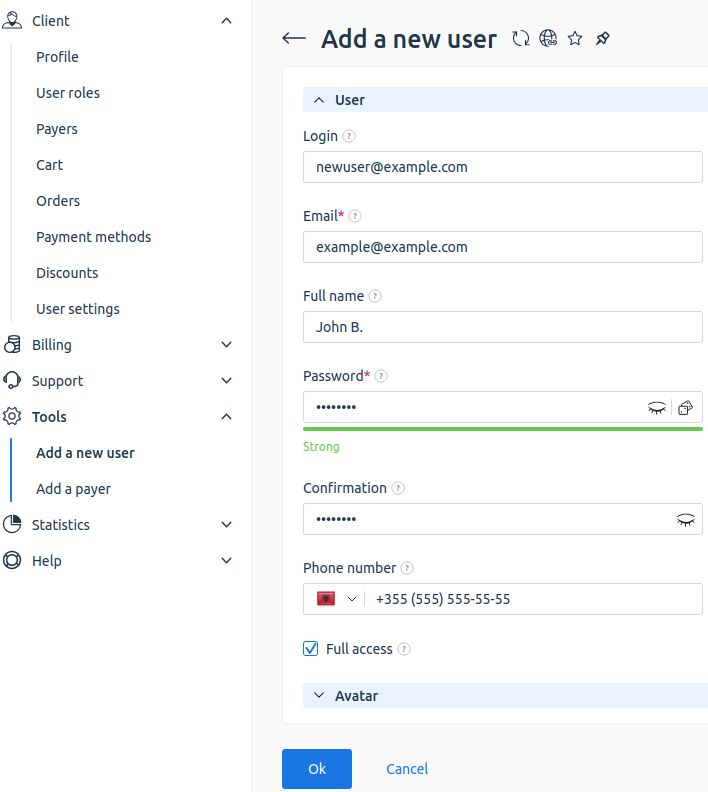
- Full access — select if you want to allow the user full access. If the User role involves restrictions, select one or more of the configured roles. Multiple roles with different access rights can be assigned to a user. If there is a conflict of rights, the permissive rights take precedence. This means that if one role has read access and another does not, the client with both roles will still have read access. For more information, see the article Setting user roles.

Client Profile
-
under Client → User Settings, where you can:
- edit Main settings;
- read updates to the Privacy policy;
-
manage actions on Operations with personal data:
- change decision on the policies and familiarize yourself with the information on them;
- export personal data in CSV format. The file will be sent to the email specified in the user's settings;
- send a request for deletion of personal data;
- send a request for the restriction of the use of private data;
- configure binding to external authorization services;
- enable two-factor authentication to confirm transactions with temporary passwords through the Google Authenticator application;
- configure operation via Telegram to contact your provider's support;
- add an avatar — an image that is displayed in correspondence with technical support;
- set up notifications to manage your subscription to notifications from your service provider.
Adding a new user
You can give access to your client area to third parties. For example, to an accountant to manage accounts and documents or to a system administrator to communicate with technical support specialists. To add a new user, enter Tools → Add a new user .

Then you can manage users in Client → Users:
- create a new user;
- edit user data;
-
delete a user;
You cannot delete the first user yourself. To do this, contact your provider or create a new user with full rights. - enable/disable a user;
- edit user permissions.

User permissions
You can change the permissions of users to perform certain actions. To do this:
- Enter Client → Users → select the user → press the Permissions button.
- Hold down the Ctrl key and select the permissions you want to assign to the user.
- Press Enable and confirm the action.

Related articles:
 En
En
 Es
Es