 En
En
 Es
Es
With the help of roles, you can customize platform user rights flexibly — each user will have access to only the necessary functions.
The role settings specify the actions a user can perform in each section of the platform. You can enable or disable options to view, add, modify, and delete platform objects. The actions can vary for each section.


The ability to customize individual user roles allows clients to:
- provide users in the personal account permissions with specified rights only to the required functions;
- organize their own user structure in the personal account. For example, allocate the roles of a manager and subordinates and customize a certain set of permissions for each of them in the platform.
Creating a role
In the personal account, clients are allowed to:
- create roles that are available only to them;
- use common roles created by the provider, but are not able to create or delete them.
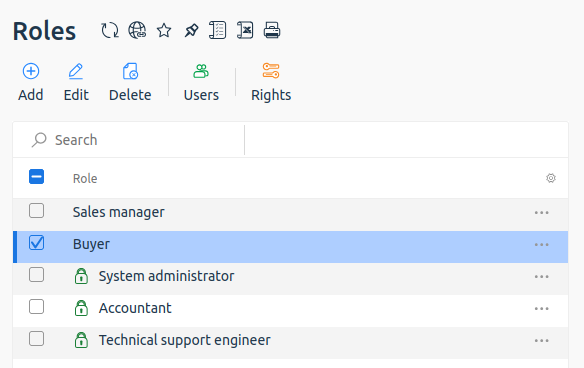
Roles created by the provider are displayed in the role list with an  icon and are blocked for deletion.
To create a common role, go to Client → User Roles → Create button → specify a role name → click Ok. After the role is created, configure access rights for it.
Role access rights
Each role is categorized by function to specify which billing functions users will have access to. For example, the “Accountant” user role may have access to the “Finance” section and may not be able to edit the “Goods/Services” section.
A user can be assigned several roles with different access rights. If a conflict of rights arises, the permissive rights take precedence. This means that if one role has read access and another does not, the client with both roles will still have read access.
The newly created role has disabled access to all BILLmanager functions by default. To configure access rights:
- Go to Clients → User Roles → select a role → click Rights button.
- Select a section from the list and use the On/Off buttons to set the required access status.
- To set access to certain features available in each section, select the section and click Functions. For example, in the Contracts section, you can disable access to delete existing contracts, but keep the option to create new ones and modify previously created ones.

When full access is granted, no roles need to be specified. If a user is granted full access:
- the drop-down list for selecting roles automatically becomes unavailable in the user edit form;
- an error will occur when trying to assign a role to the user.
Assigning roles to users
A role can be assigned:
- when you create a user. For more information, see the User Settings article;
- for existing users.
To assign a role to existing users:
- Go to Customers → User Roles.
- Select a role.
- Click Users button.
- Select the users you want to assign the role to.
- Click Add. The user's status changes from Has no role to Has a role.
To delete a role for a user, click Delete.
The ability to assign roles to your own accounts is not supported by the platform.
Deleting a role
To delete a role, go to Clients → User Roles → select the role you want to delete → click Delete → click Ok.
Related articles: