VNC (Virtual Network Computing) is a system for remote access to a computer's desktop. VNC allows you to send keyboard keystrokes and mouse movements from one computer to another, and to relay screen content over a computer network.
VMmanager uses VNC to remotely manage virtual machines (VMs).
Work logic
VNC consists of a client part and a server part:
- server is a program that provides access to the screen of the computer on which it is running;
- client is a program that receives the screen image from the server and communicates with it via RFB.
The VNC system is platform-independent: a VNC client running on one operating system can connect to a VNC server on another. There are client and server implementations for most operating systems.
To connect to VNC, the platform interface uses the noVNC HTML5 client. The websockify proxy is used to support the websocket protocol.
The network interface on which the VNC server accepts connections is determined automatically. This uses a network bridge to which the network interface of the virtual machine is connected. Restricting access to VNC by standard VNC clients is possible by creating a private NAT network.
Connecting to a VM via VNC
You can connect to a VM:
- through the platform interface;
- using a third-party VNC client. For example, RealVNC Viewer or TightVNC.
Connecting from the VMmanager interface
- Enter Virtual machines → select the VM →
 menu → VNC. The VM desktop opens in a new browser tab.
 - Enter the login and password to connect to the VM.
Connecting with a VNC client
To create a connection, you will need to specify the VNC server details: address, connection port and password. This data can be viewed in the virtual machine card: Virtual machines → select the VM → VNC settings tab.
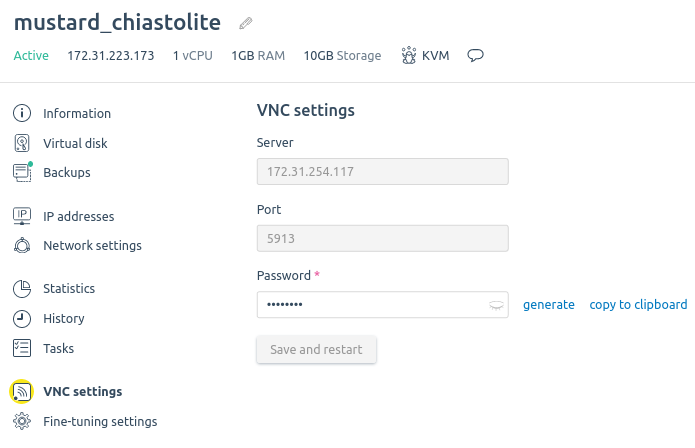
Section interface
Connection example for RealVNC Viewer:
- Download and install the version of RealVNC VIewer for your operating system.
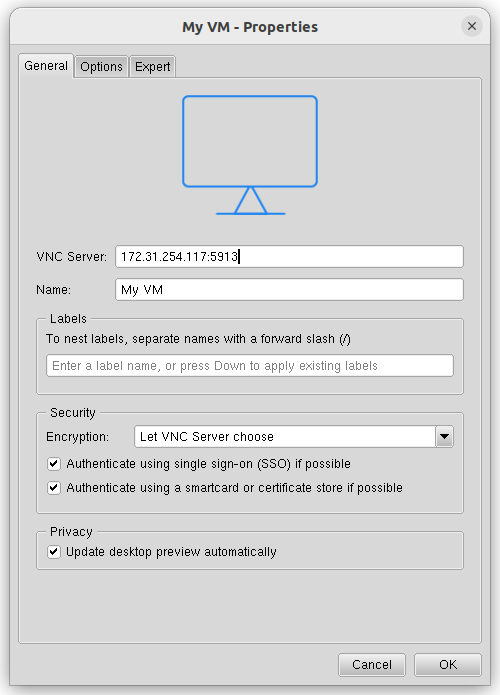
- Start RealVNC Viewer and create a connection to the VM:
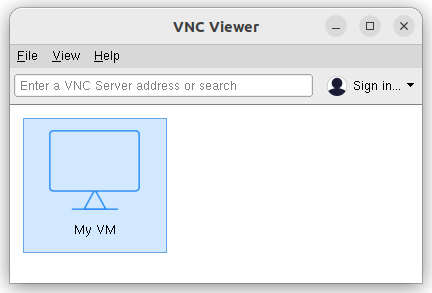
- To connect to a VM, double-click the connection icon.
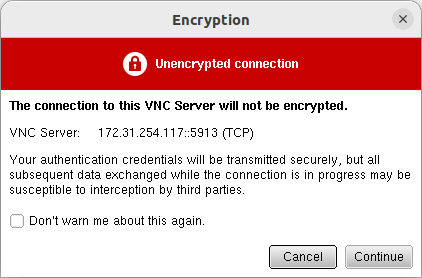
- If RealVNC VIewer displays a warning about an unsecured connection, press Continue.
- In the Password field, enter the password for the VNC server and press OK.
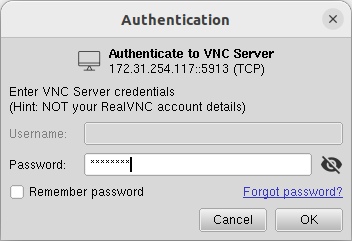
- Enter the login and password to connect to the VM.
 En
En
 Es
Es
