 En
En
 Es
Es
In the platform interface, you can manage external block devices connected via iSCSI and FCP protocols. This allows you to:
- automate work with storage — connect and disconnect external disks, and update their capacity information without manual operations in the OS;
- flexibly manage resources — connect storage for a separate node or the whole cluster;
- monitor system status — get diagnostic information about SAN service operation and monitor disk subsystem status.
The function is available only in KVM clusters.
FC storage preparation
- Configure the storage system according to the equipment manual.
- Connect to the cluster node via SSH. For more information about connecting via SSH, see Workstation setup.
- Ensure that the storage disks appear on the cluster node as block devices:
lsblk - If the disks do not appear, scan the disks connected via Fibre Channel:
for host in `ls /sys/class/fc_host/`; do echo "1" > /sys/class/fc_host/${host}/issue_lip; done
Connection procedure
To use external storage:
- Create a connection to the storage system.
- If necessary, clear the storage system disks.
- Create external storage — a group of volumes on the storage system disks.
- Add storage in the cluster settings. For more information, see the article Managing cluster storages.
Connections to storage systems
The external storage is managed by connecting to the storage. To manage connections, in the left menu, click External storages → Connections to storage system tab. The tab contains information about created connections and their status.
Connection statuses:
- Connected — storage connected to all cluster nodes;
- Warning — some nodes disconnected from storage by administrator;
- Error:
- Storage connection failure — no connection on some nodes;
- Storage is inaccessible — no connection to all nodes.
Creating a connection
To create a connection to the storage system:
- Click Connect storage system button.
- Specify the connection parameters:
- Select a Cluster to which the storage system will be connected.
- Click Generate access list link. The browser will start downloading the access list file. The access list contains information about the IQN and WWN of the cluster nodes. Import this file to the storage system according to the equipment documentation.
- Select a connection type:
- iSCSI;
- Fibre Channel.
- Enter the arbitrary Connection name.
- For connection to iSCSI:
- Enter IPv4 address and Port for connection. You can specify up to 8 connection options. To specify other options for the connection, click Add IP button. To delete connection data, click the
 icon in the line with the connection.
 - If the connection requires authorization:
- Activate the Enable authorization option.
- Enter the Login and Password.
- Enter IPv4 address and Port for connection. You can specify up to 8 connection options. To specify other options for the connection, click Add IP button. To delete connection data, click the
- Enter the arbitrary Note.
- Click Create button.
Connection management
The connection is controlled via the  menu in the connection line. Possible actions:
- Parameters — go to the connection card. You can also click on the name of the connection in the table to perform this action;
- Connect to the cluster;
- Disconnect from the cluster;
- Update disks — update information about the storage disks;
- Note — change the note;
- Delete.
To change the connection settings, click the connection name → General settings tab → specify the required settings → Save button.
Cluster node management
To get information about the cluster nodes using the connection, click the connection name → Nodes tab.
Statuses of connections to nodes:
- Connected;
- Not connected;
- Connection error.
To disconnect a node from the storage system, click the icon in the node row → Unmount. This option is available only for nodes that do not have VMs with disks in this storage.
To connect a node to the storage system, click the icon in the node row → Mount.
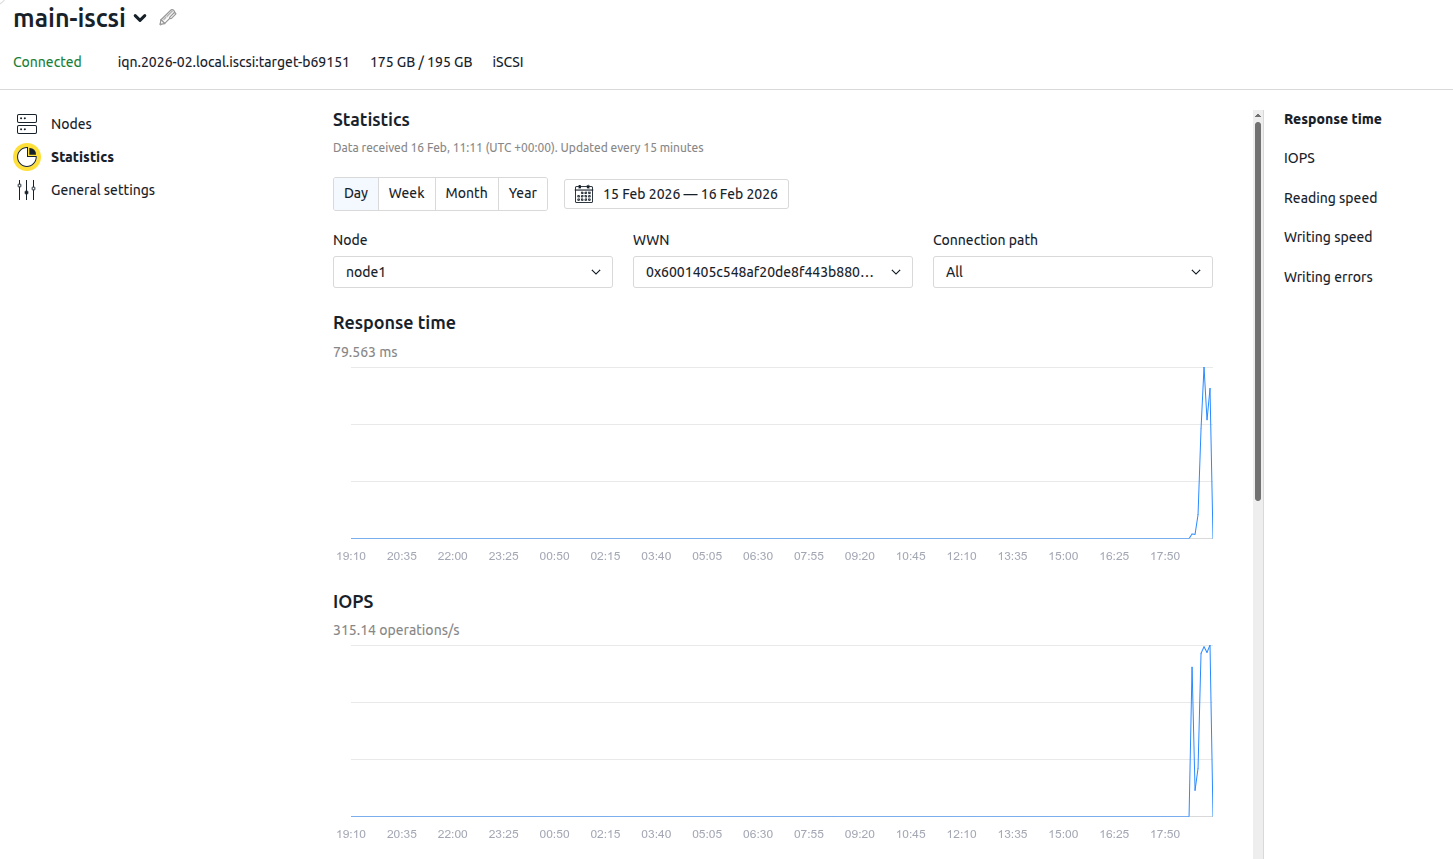
Connection statistics
To view statistics on connections to the storage system, click on the connection name → Statistics tab. Statistics are available for the following parameters:
- response time;
- IOPS;
- reading speed;
- writing speed;
- writing errors.
To view statistics for a specific device, select:
- Data collection period.
- Node.
- WWN.
- Connection path.
External storages
To manage external storages, in the left menu click External storages → External storages tab. The tab contains information about the created storages and their status.
Creating a storage
To create a storage:
- Click Create storage button.
- Specify the storage parameters:
- Enter the Storage name.
- Select a Connections to storage system.
- Select the disks of the storage system.
- Click Add button.
Storage management
The storage is managed via the menu in the line with the storage. Possible actions:
- Connect to the cluster;
- Disconnect from the cluster;
- Note — change the note;
- Delete.
External disks
To manage the disks of connected external storages, in the left menu click External storages → External disks tab. The tab contains information about the storage disks and their status.
Disk statuses:
- Storage: (storage name) — used in the platform;
- Available — available for storage creation;
- Used by another system — volume groups have already been created on the disk. To use the disk, clear it.
Disk management
Disk management is performed via the menu in the disk line. Possible actions:
- Connect to the storage;
- Connect to VM;
- Clear;
- Note — change a note.
Connecting external drives to VM
You can connect external storage disks to VMs. Before connecting an external disk to the VM, it is recommended that you format it using GFS2. In the current implementation, backup, images, and snapshot creation for external disks are not supported.
To connect the disk to the created VM:
- Select a disk → menu → Connect to VM.
- Select a VM from the list and click Select VM.
- If necessary, change the Disk name.
- Select a Connection type:
- Direct — only one VM will use this disk;
- Shared — several VMs will be able to use this disk.
- If an operating system will be installed on this drive, select the Main disk option.
The main disk can be managed from the billing system and cannot be detached from the VM. This disk is overwritten when the OS is reinstalled or its size is changed. It is not recommended to use a shared disk as the main disk. Doing so may result in uncontrolled changes to data on all VMs that use this disk. - Set the boot order for the drives. To do this, drag and drop the drives into the desired order.
- Click the Connect disk to VM button.
To create a VM with an external storage disk, add that disk to the VM configuration. Read more in Configurations of virtual machines.
Diagnostics
To identify a problem related to the storage system, examine the service logs:
Related topics: