En
En
 Es
Es
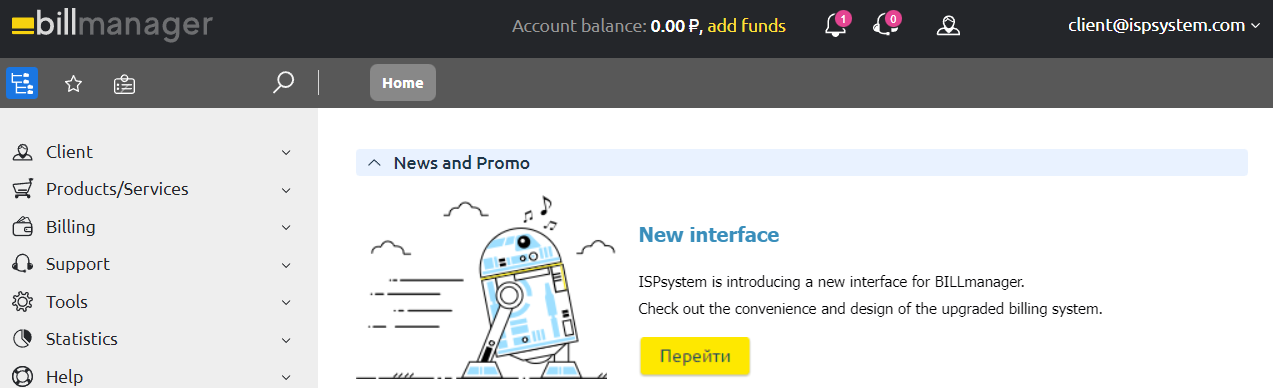
The Advertising tool allows you to create banners with promotions and offers for a given client segment. The banner is displayed on the main page of the client interface in the "Promotions, special offers, news" section.
To create a banner:
- Enter Marketing → Banner ads → Add.
- Specify the Name of the ad.
- Select the Provider for whose clients the banner will be displayed.
- Specify one or more Languages. Ads will be displayed only to clients with the selected language. If no language is selected, the ads will be shown to all clients.
- Specify the Weight as an integer number. It affects how often the banner is displayed.
- Enter the Banner address — the URL from which the banner will be downloaded to be displayed to clients. For example, an image in *.png format or an HTML page. The height limit is 150px.
- Specify the Client segment for which this ad will be displayed. Read more about client segments in Client segments.
- Press Ok.

You can create any number of banners, but BILLmanager shows only one banner at a time. You can also enable or disable ads as needed.