With the Ticket tags module you can:
- track the number of tickets related to a certain type of product, tariff and responsible department;
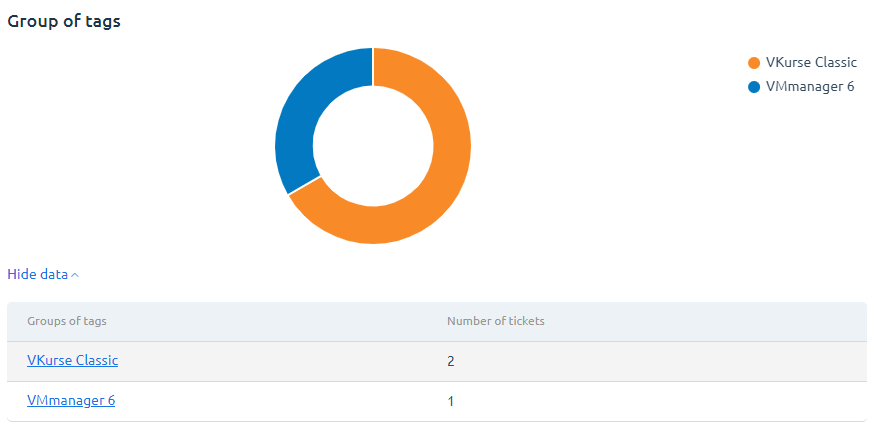
- create reports on the distribution of tickets by tags.
To connect the module, enter Integration → Modules → select the Ticket tags module.
Managing tags
Creating a tag
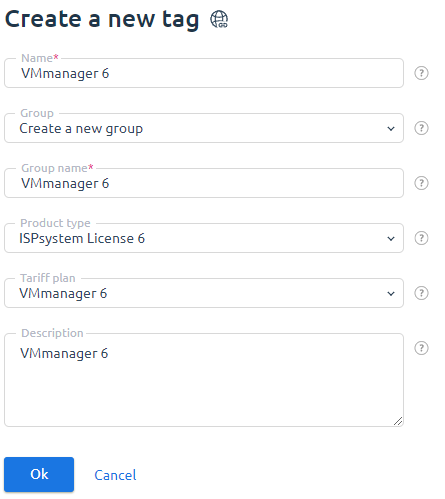
Enter Support → Ticket tags → Create button.
Fill in the form:
- Name;
- Group — select an existing group from the list, or create a new one;
- Group name — enter the name for the new group;
- Product type — select the product type from the list;
- Tariff — select one or more tariffs;
- Description.
Managing tags
You can do the following with tags:
- create new ones;
- edit existing ones;
- delete.
All tags are displayed in a table that contains information about the number of tickets and the responsible departments for each tag.

Adding a tag to a ticket
Tags are added to tickets automatically if they fit the conditions.
For example, a client contacted you and selected VMmanager 6 in the Service field. An appropriate tag is automatically added to his/her ticket.
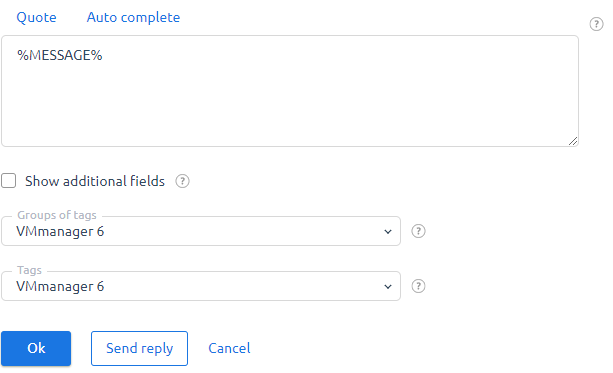
To add a tag to an already created ticket, enter Support → All tickets → select the ticket → Open button → specify the Tag group and Tag below the message field.
The ticket tags are displayed in the general table of tickets and filtering by them is available.
Reports
To create a report:
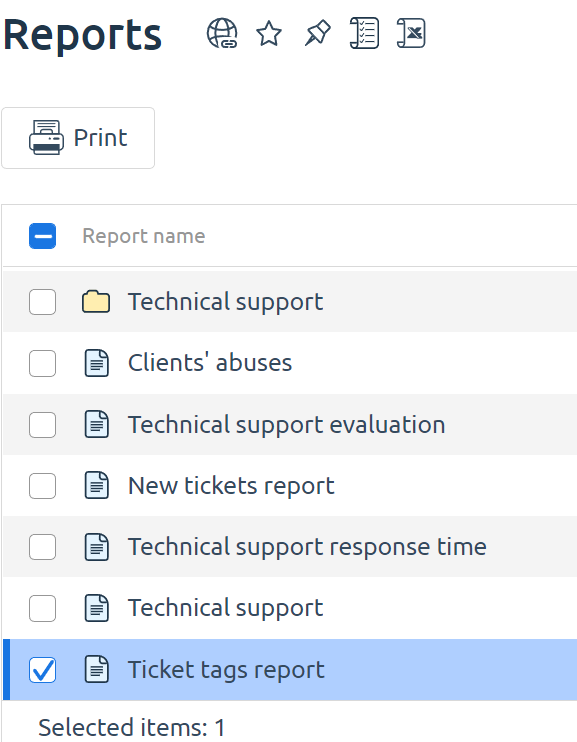
- Enter Provider → Reports → select Report on the allocation of tickets by tag → Print button.
- Select the required parameters and press the OK button.
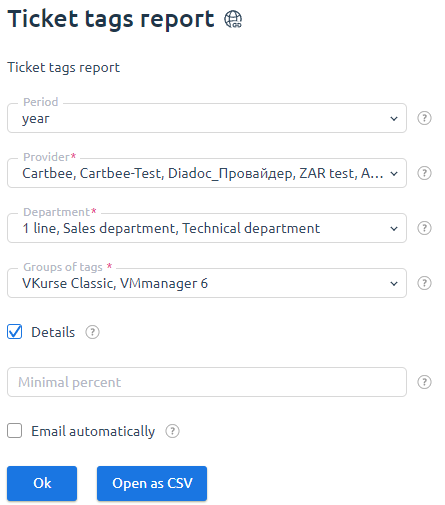
To navigate through the created report, press on the Tag group name.
 En
En
 Es
Es